October 10, 2018
Tiny House, BIG LIFE!
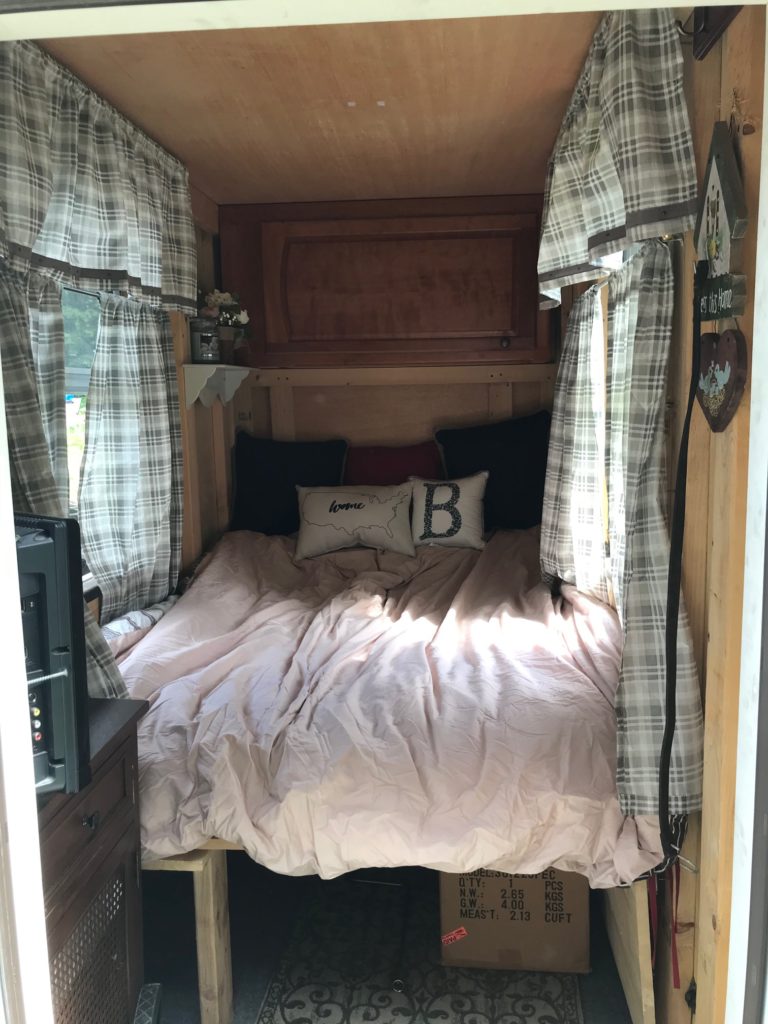
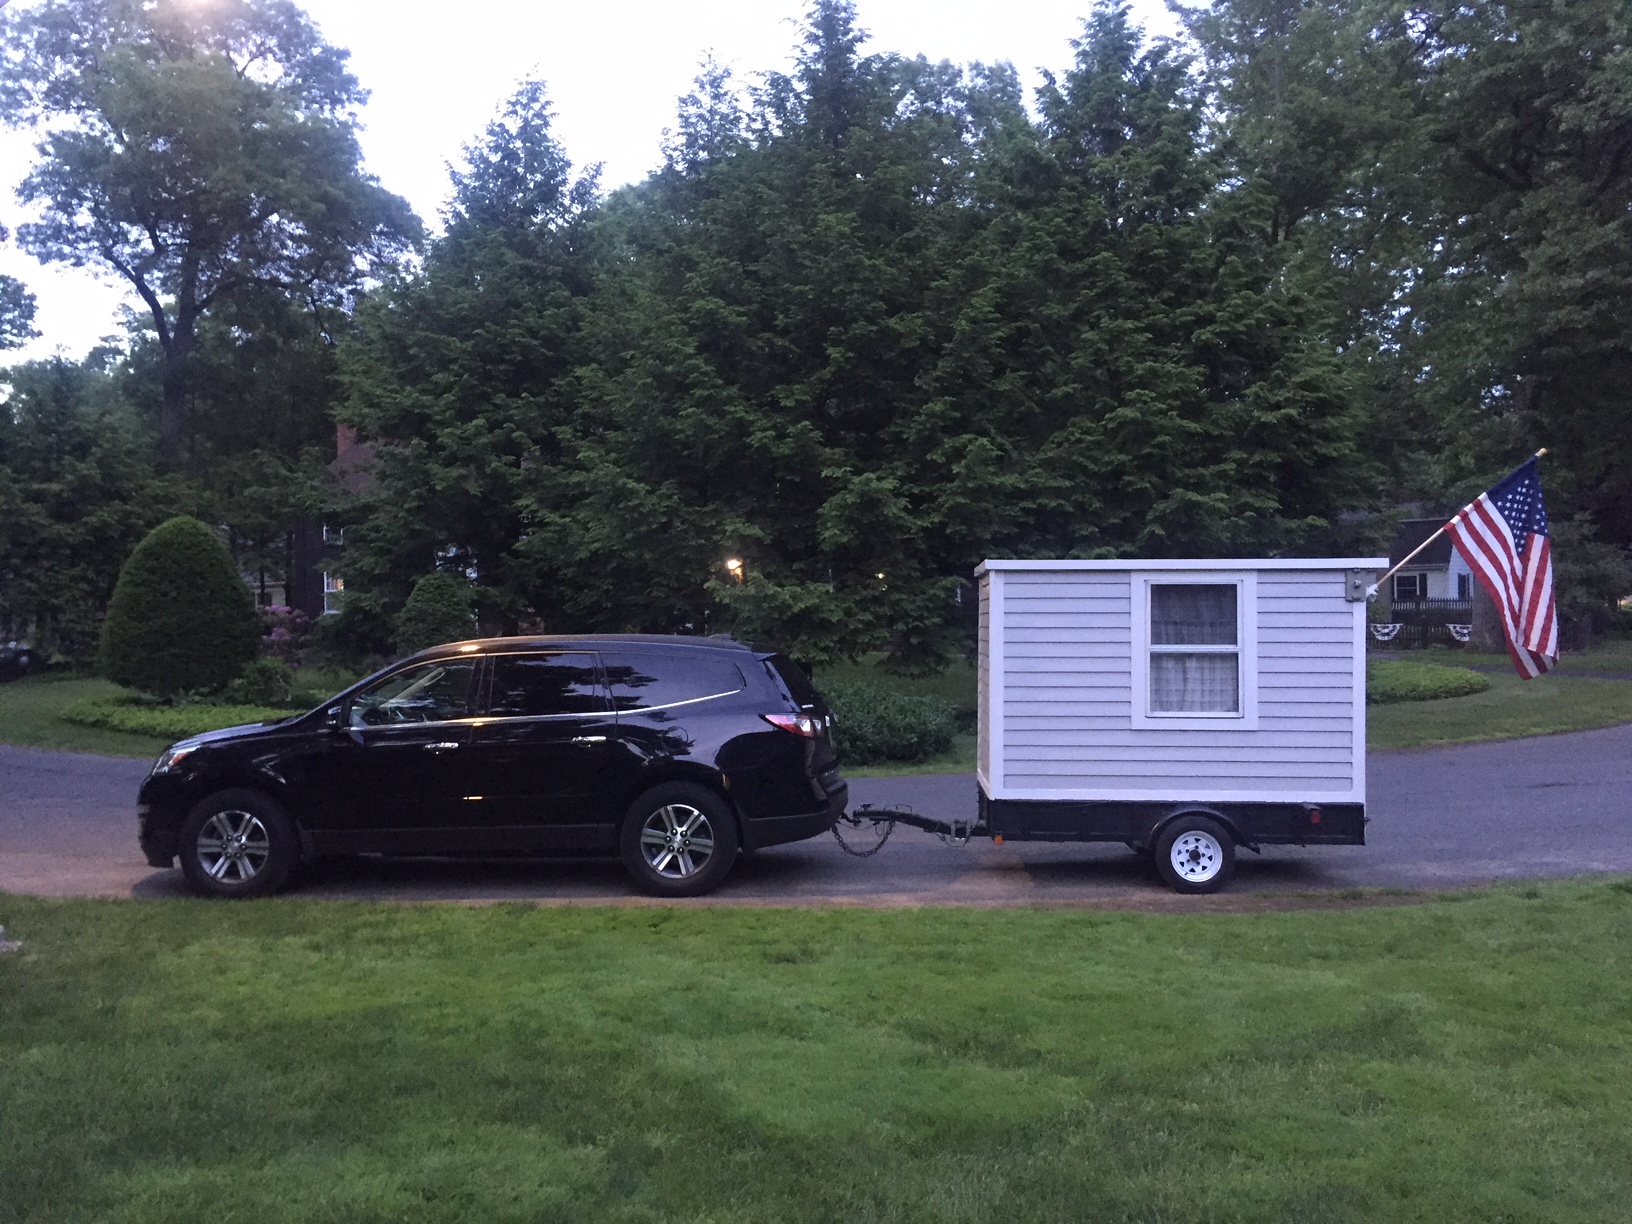
This summer, I decided to do something CRAZY and buy a “tiny house.” I mean, let’s be honest, I can’t even call it a “house” because it’s an 8-ft motorcycle trailer that was converted into a bed on wheels. I don’t think it can get any smaller than this!
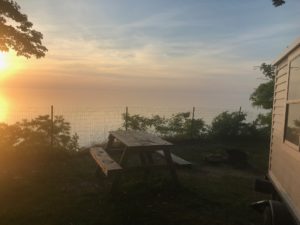
I’ve always been curious if I’d enjoy the camping/life on the road lifestyle, so I bought this custom built tiny house for $3,200 from a wonderful man named John up in Massachusetts. I went camping 7 times this summer with the house and had a blast! Look at the view from our campsite on Lake Erie!
But after a great summer, I wanted to renovate it and make it a little prettier with a paint job, new ceiling, curtains, and a new bed spread. Here’s what I did…
STEP ONE:
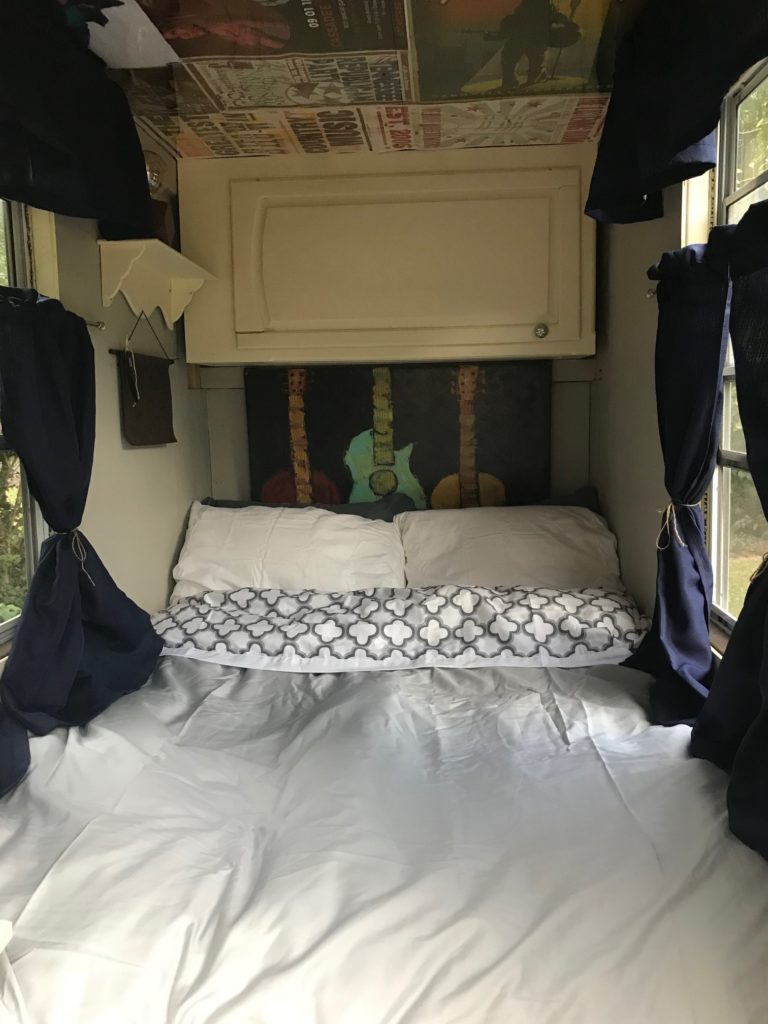
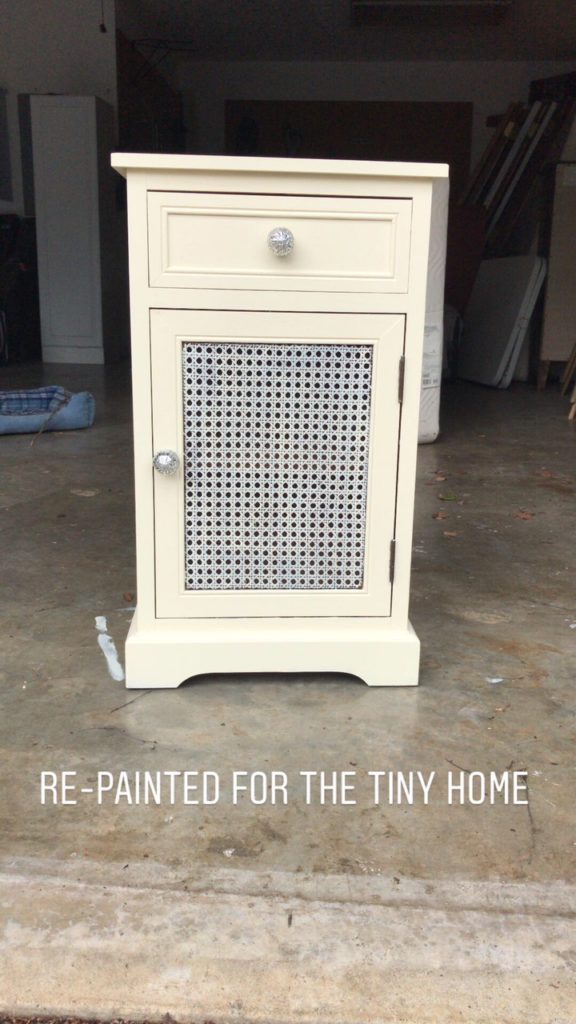
Re-paint all the cabinets from Brown to white
STEP TWO:
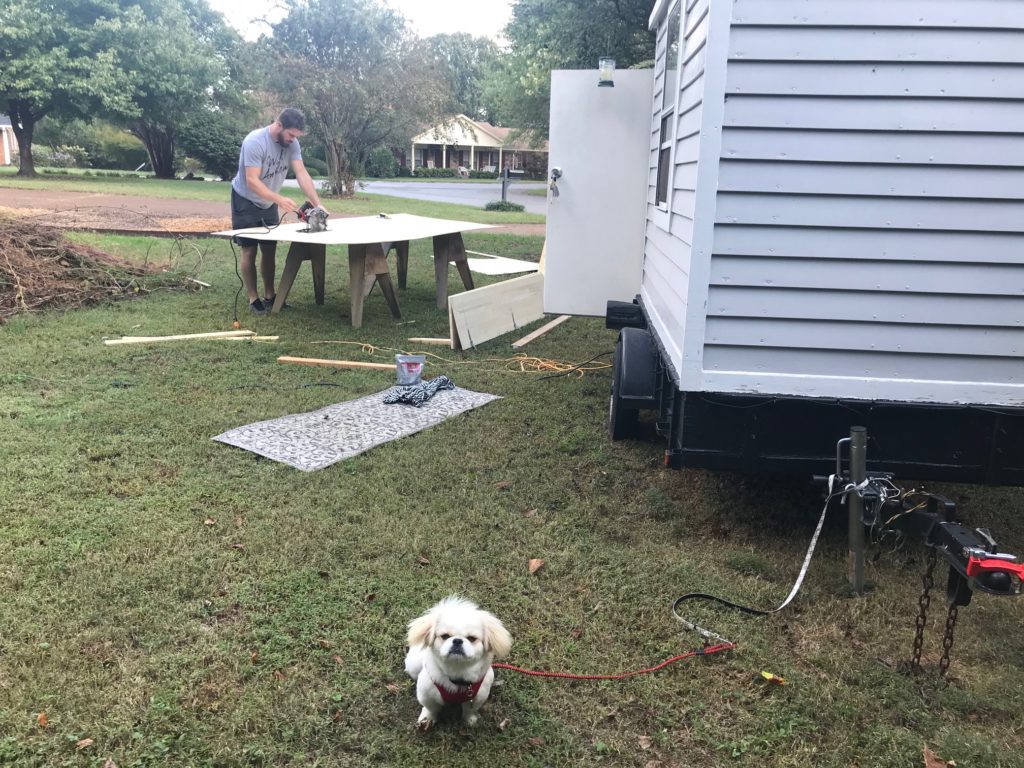
Buy plywood, measure it correctly, and cover up the 2×4’s that line the house. I need to give a HUGE thank you to my man, Robby, for measuring and cutting the wood. He’s the best! And look at Brate watching over us while we work!

STEP THREE:
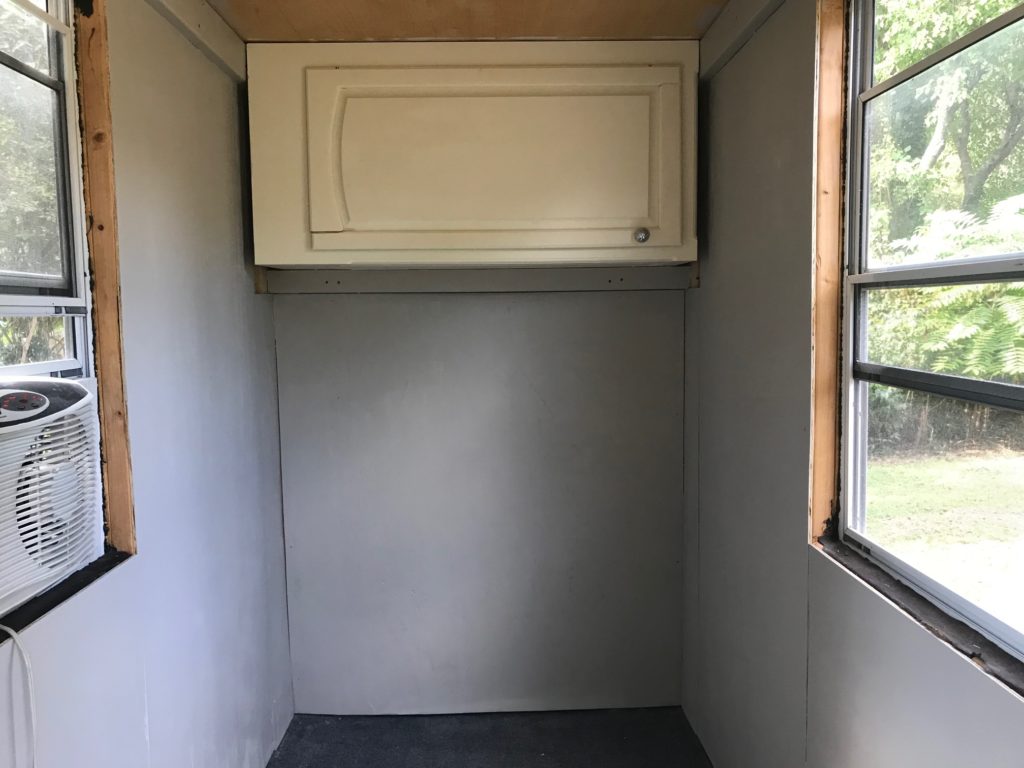
Paint the plywood, put the cabinets back up
STEP FOUR:
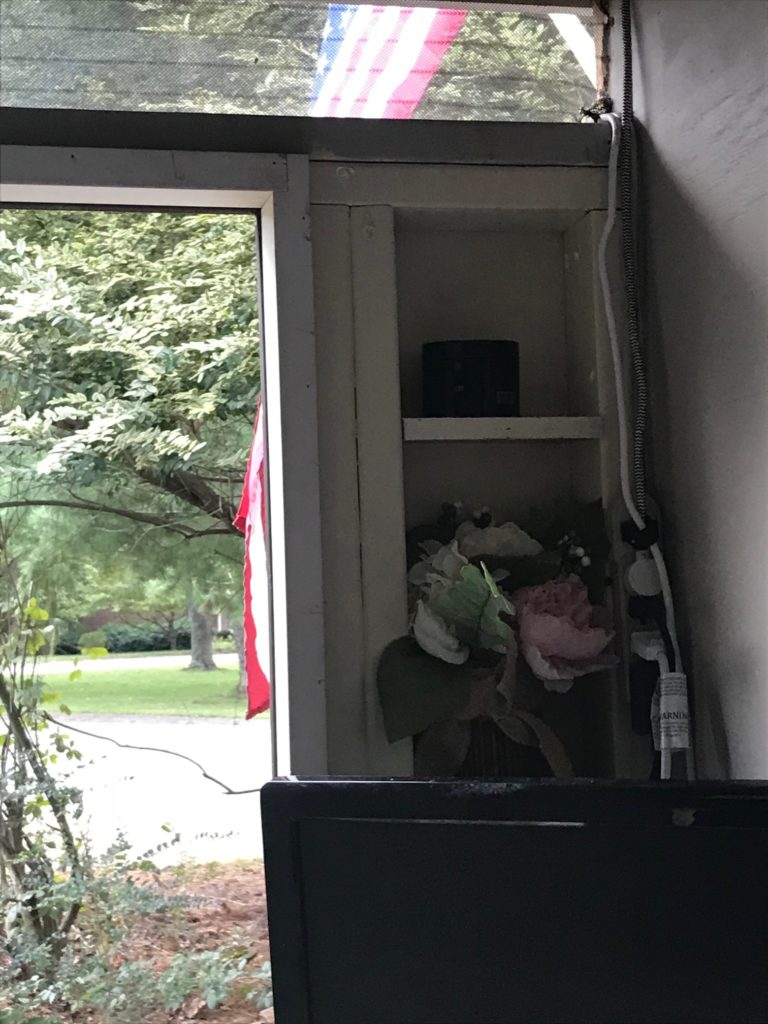
Make shelving by the door!
STEP FIVE:
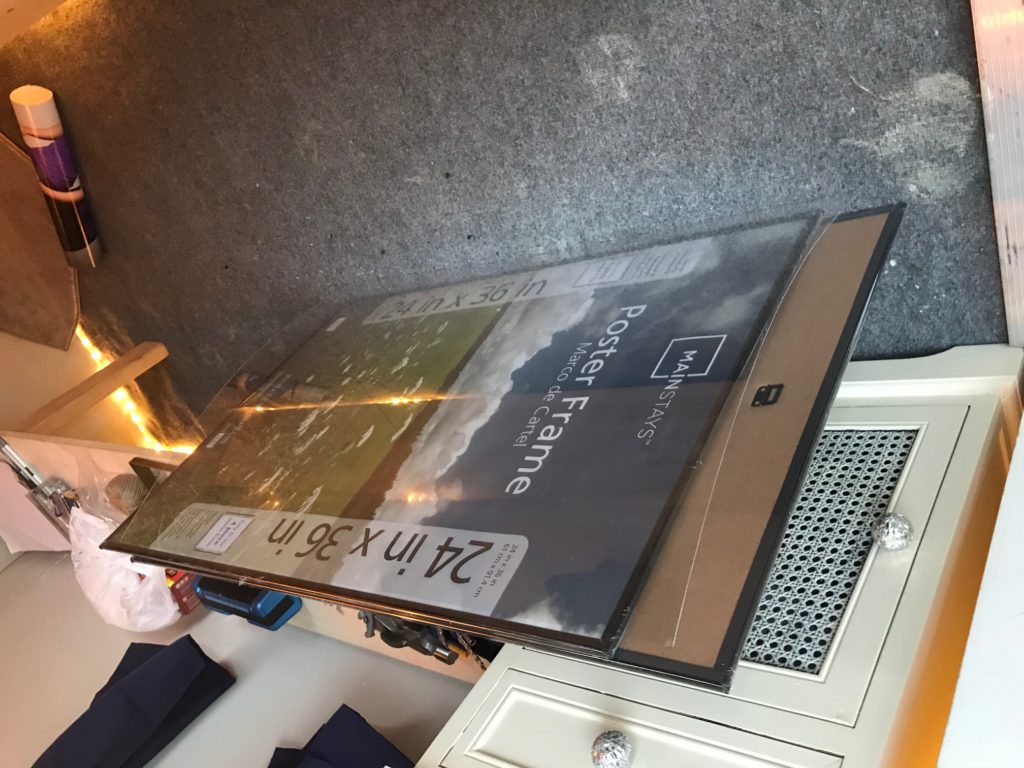
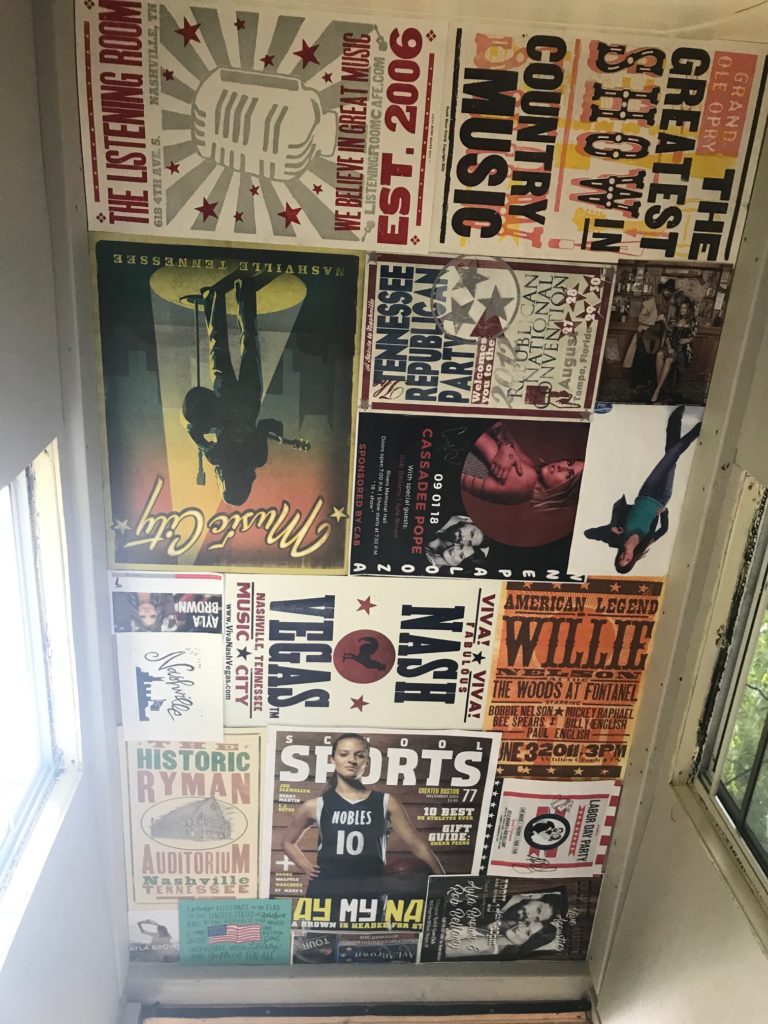
I wanted something personal and unique for the ceiling so I found a bunch of my old music show posters and Nashville Hatch Prints and pasted them up on the ceiling. I went to Walmart and bought some big poster frames for less than $10 each (They were $30 at Lowes!) and took the plexiglass out. That’s what I screwed on the top to protect the ceiling prints.
STEP SIX:
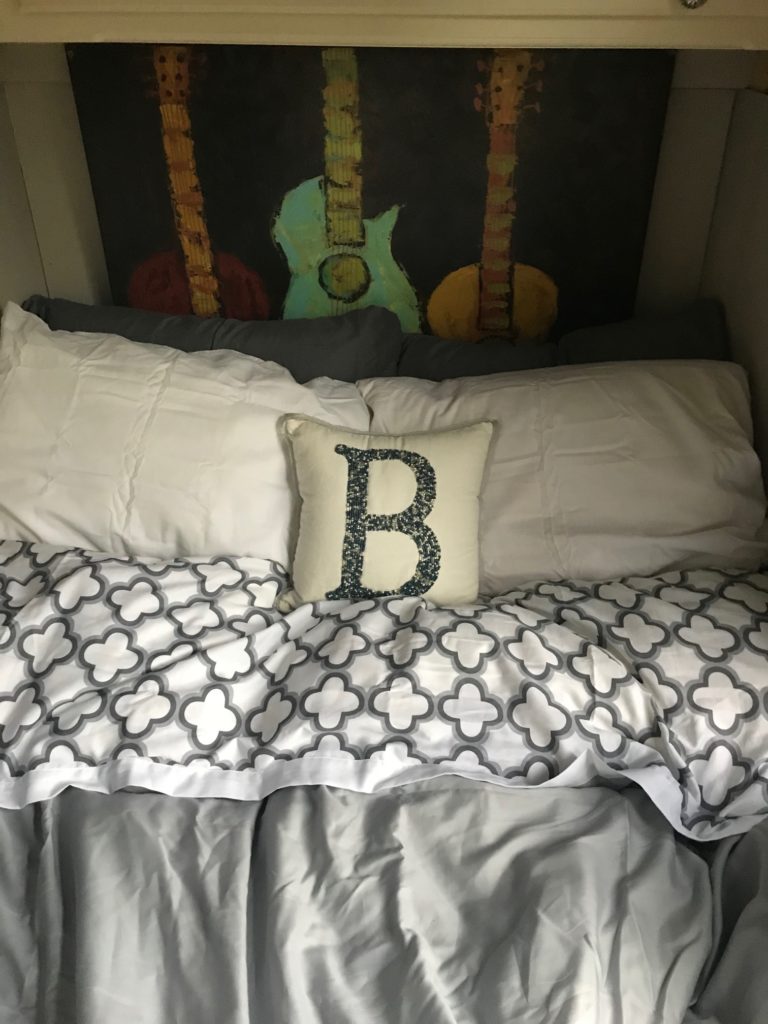
Decorate it with new pillows, blankets, sheets, and a nice guitar accent print behind the bed.
BEFORE AND AFTER!